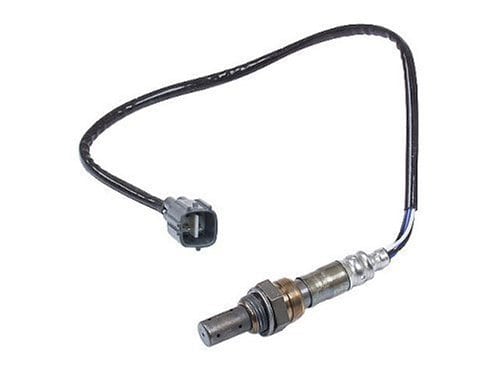
Thought I’d share with my readers this video I made “How to Remove and Install an Oxygen Sensor.” While the car in the video is a Toyota Camry the process is the same on the majority of cars out there. Replacing an oxygen sensor or air/fuel sensor is an easy job that you can definitely do.
How to Remove and Install an Oxygen Sensor
To do complete this DIY auto repair task all you really need is a 10mm wrench, an adjustable wrench, penetrating lubricant, and of course the new sensor. .
I used this Denso sensor#234-9010 but keep in mind this could will depending on your year make and model. This should fit most Toyota Camry’s though. Make sure to buy a factory replacement sensor and not a universal one which sometimes do not work.
For getting off the sensor and installing it you can use an adjustable wrench, which may or may not work. It is ideal to use an Oxygen Sensor Socket honestly. You could need an offset oxygen socket depending on your car. Usually what most mechanic’s do is remove the exhaust manifold cover, spray down the sensor, and use a big wrench or adjustable wrench. In the video you can see I did not use an oxygen sensor socket. To get off the exhaust manifold cover I have these great Gearwrench Flex-Head Ratcheting Wrenches.
You might find it useful to buy a Magnetic Parts Dish to keep any nuts, bolts, or screws together. These are great for garage and around the house use. A Fender Cover is nice too since this keeps you from scratching up your paint while working on your car.
I like using Rubber Gloves while working on cars in addition to Mechanic’s Gloves too. Keeps your hands less dirty and doesn’t give you as many cuts and scrapes.
Something this is not required but useful would be having this Actron Pocketscan code scanner. It is super basic but gets the job done for DIY auto repair.
Hope you enjoy the tutorial and let me know if you have questions or issues.
[Source – How to Replace an Oxygen Sensor]


